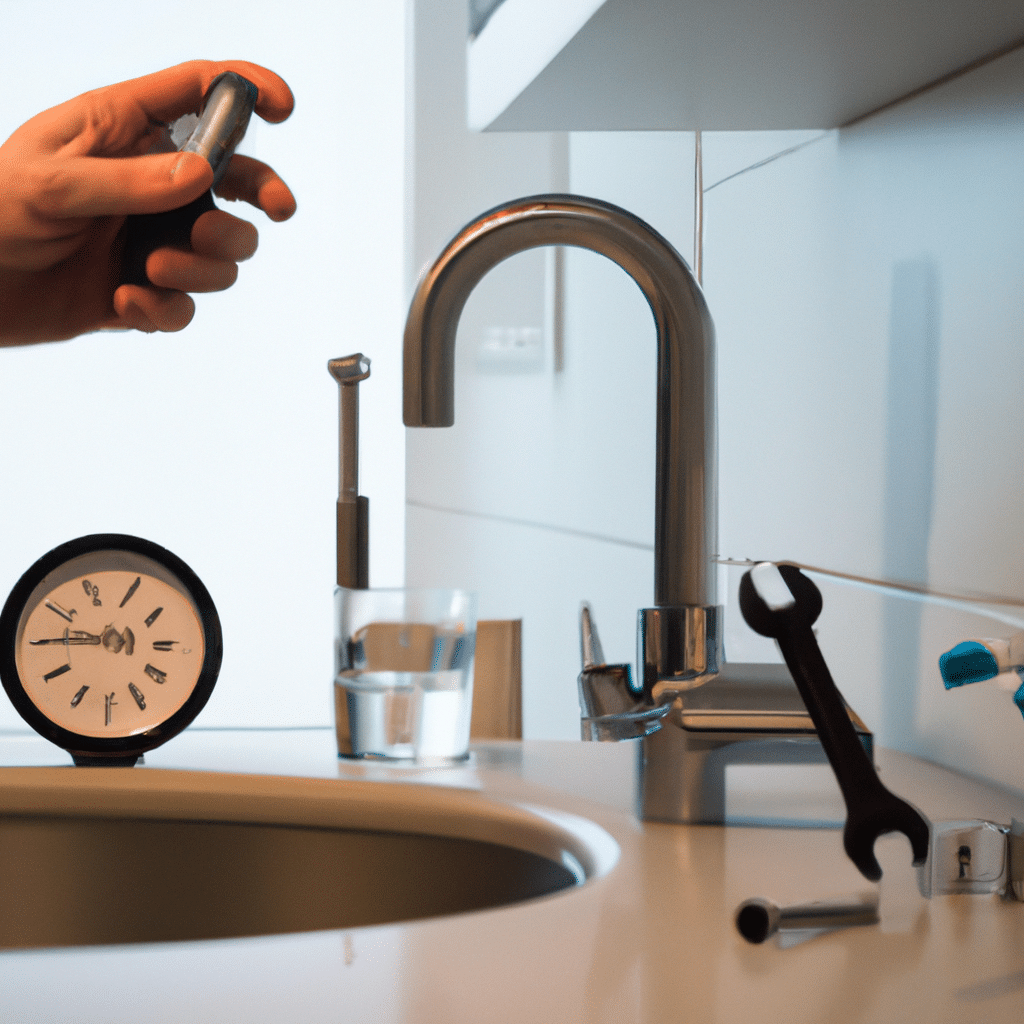
Are you tired of hearing the constant drip of your bathroom sink faucet? Not only can it be annoying, but a leaky faucet can also waste a significant amount of water and lead to high water bills. Fortunately, fixing a leaky bathroom sink faucet is a relatively easy task that you can do in just a few minutes. In this article, we will guide you through the steps to fix a leaky bathroom sink faucet and save you money on your water bill.
Tools and Materials Needed
Before we start, gather the following tools and materials needed for the job:
- Adjustable wrench
- Screwdriver
- Replacement cartridge or washer
- Penetrating oil or vinegar
- Teflon tape
- Towels or rags
Step 1: Turn Off the Water Supply
Before beginning any plumbing project, it is essential to turn off the water supply to the sink. Locate the shut-off valves under the sink and turn them clockwise to shut off the water supply. If you cannot locate the shut-off valves, turn off the main water supply to your home.
Step 2: Remove the Handle
Next, remove the handle of the faucet by unscrewing the set screw with a screwdriver. If the screw is stuck, use penetrating oil or vinegar to loosen it. Once the set screw is removed, pull the handle off the faucet.
Step 3: Remove the Cartridge or Washer
After removing the handle, locate the cartridge or washer that needs to be replaced. Use an adjustable wrench to loosen and remove the cartridge or washer from the faucet. If the cartridge or washer is stuck, use penetrating oil or vinegar to loosen it.
Step 4: Install the Replacement Cartridge or Washer
Once the old cartridge or washer is removed, install the new replacement cartridge or washer in its place. Be sure to follow the instructions that come with the replacement cartridge or washer. Use Teflon tape to ensure a tight fit.
Step 5: Reassemble the Faucet
After installing the replacement cartridge or washer, reassemble the faucet by following the steps in reverse order. Place the handle back onto the faucet and tighten the set screw with a screwdriver. Turn on the water supply and test the faucet for any leaks.
Conclusion
Fixing a leaky bathroom sink faucet is a simple task that can save you money on your water bill. With the right tools and materials, you can complete the job in just a few minutes. Remember to turn off the water supply, remove the handle, replace the cartridge or washer, and reassemble the faucet. By following these steps, you can say goodbye to that annoying drip and enjoy a fully functional bathroom sink faucet.


